How to Create a Moodboard
How many of us start the redecoration process with choosing a new paint colour for their walls or buying a new accent chair on a whim without actually thinking about the room as a whole, the look we want to achieve and the problems we need to solve? We’ve all done it!
However there is a process to creating a room that you will be happy with and the first step for me is always creating a moodboard. Here I take you through how you do this and as a result develop a clear vision for your space, create a cohesive scheme and prevent costly mistakes. Even the creative process needs a plan!
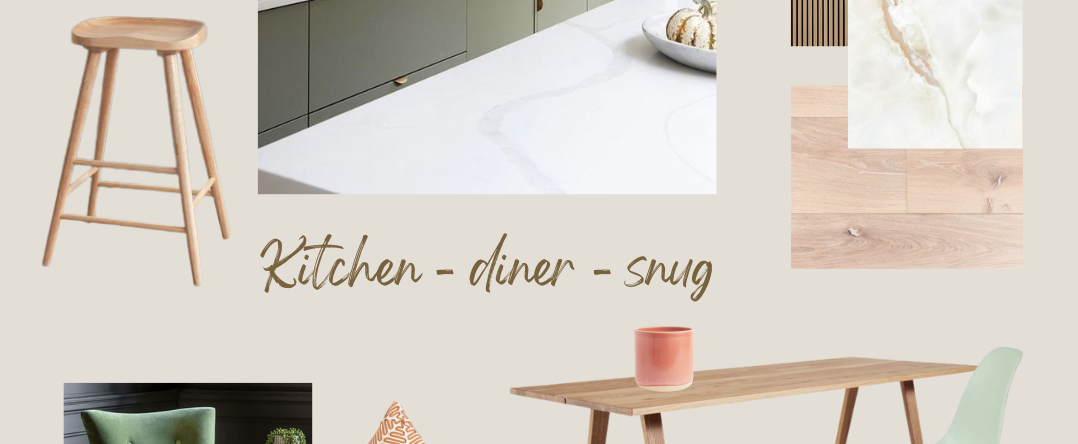
Step 1: Define your vision
Before you start collecting images and materials for your moodboard, take some time to define the vision for your room. Consider the purpose of the space, your preferred style (modern, traditional, eclectic, etc.), and the mood you want to evoke (calm, vibrant, cosy, light, etc.). This clarity will guide your choices as you curate your moodboard.
Step 2: Gather inspiration
Now, it’s time to collect inspiration from various sources. Explore interior design magazines, interior shops, instagram and pinterest to find images that resonate with your vision. Look for pictures that showcase colours, patterns, textures, and furniture styles that align with your desired aesthetic. Don’t limit yourself to just interior design; consider art, fashion, and nature for additional inspiration. This forms your concept.
")
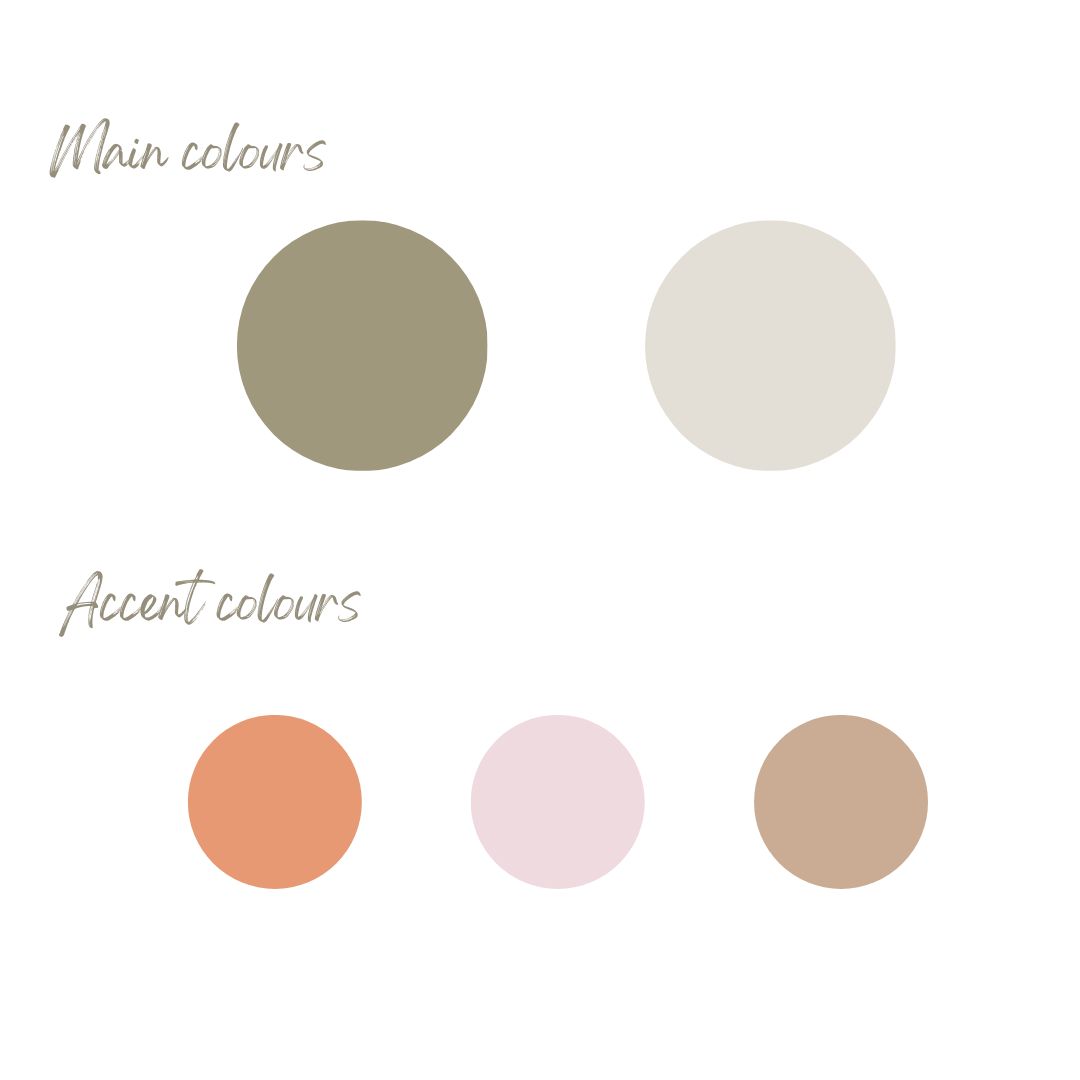
Step 3: Select a colour palette
I’m a colour lover so I adore this part! Colours play a significant role in setting the tone for a room. Identify the dominant colours in your inspirational images and choose a cohesive colour palette for your moodboard. Aim for a balanced combination of main colours and accent colours that reflect the mood and style you want to achieve in your space. Bear in mind the orientation and size of the room and whether you want to make it feel bright and airy or dark and cosy.
Step 4: Collect materials
One step on from the concept – now you can have fun gathering physical materials that represent the textures and finishes you envision for your room. This could include fabric swatches, paint samples, flooring samples, or even small keepsakes or door handles that you love. Having tangible materials on your moodboard allows you to better visualise the overall look and feel of your design. Many websites offer a few samples for free.


Step 5: Arrange & edit
Once you have a collection of images and materials, start arranging them on a board or a digital platform. Canva is a fantastic free online graphic design tool. Play with different compositions until you find a layout that makes you happy. Take note of the ratios of each colour when you turn your scheme into reality. Save or photograph your board.
Step 6: Turn it into reality!
Use the finalised moodboard as a roadmap for your room design. Refer to it when selecting furniture, paint colours, and accessories. The moodboard will serve as a visual guide, ensuring that every element contributes to the cohesive and inviting atmosphere you’ve envisioned.
